As a regular home cook and baker, I read a lot of cookbooks. I read them as others read romance novels, just paging through the book, as though there were a narrative to follow. This review is of a book that I really enjoyed reading through, several times! Fast Breads: 50 Recipes For Easy, Delicious Bread is a 144 page paperback written by Elinor Klivans. Great photos, (although not enough, and mainly artistic instead of instructional), by Susie Cushner. I’ve endeavored to make several recipes from this book, and the results are somewhat mixed, but were still enjoyable to make.
 The first recipe I made were hushpuppies. A family favorite, but I’ve not traditionally been a big fan myself. For me, they’re just a little too plain, too… “cornmeal-y” tasting. Of course, that’s exactly what good hushpuppies are supposed to be. A little savory onion, and a whole lot of cornmeal taste, in a crisp little fried ball.
 |
| The prep was much easier than I assumed it would be. The mise en place, (a French term used in cooking that means “getting your stuff together”), took less than five minutes. |
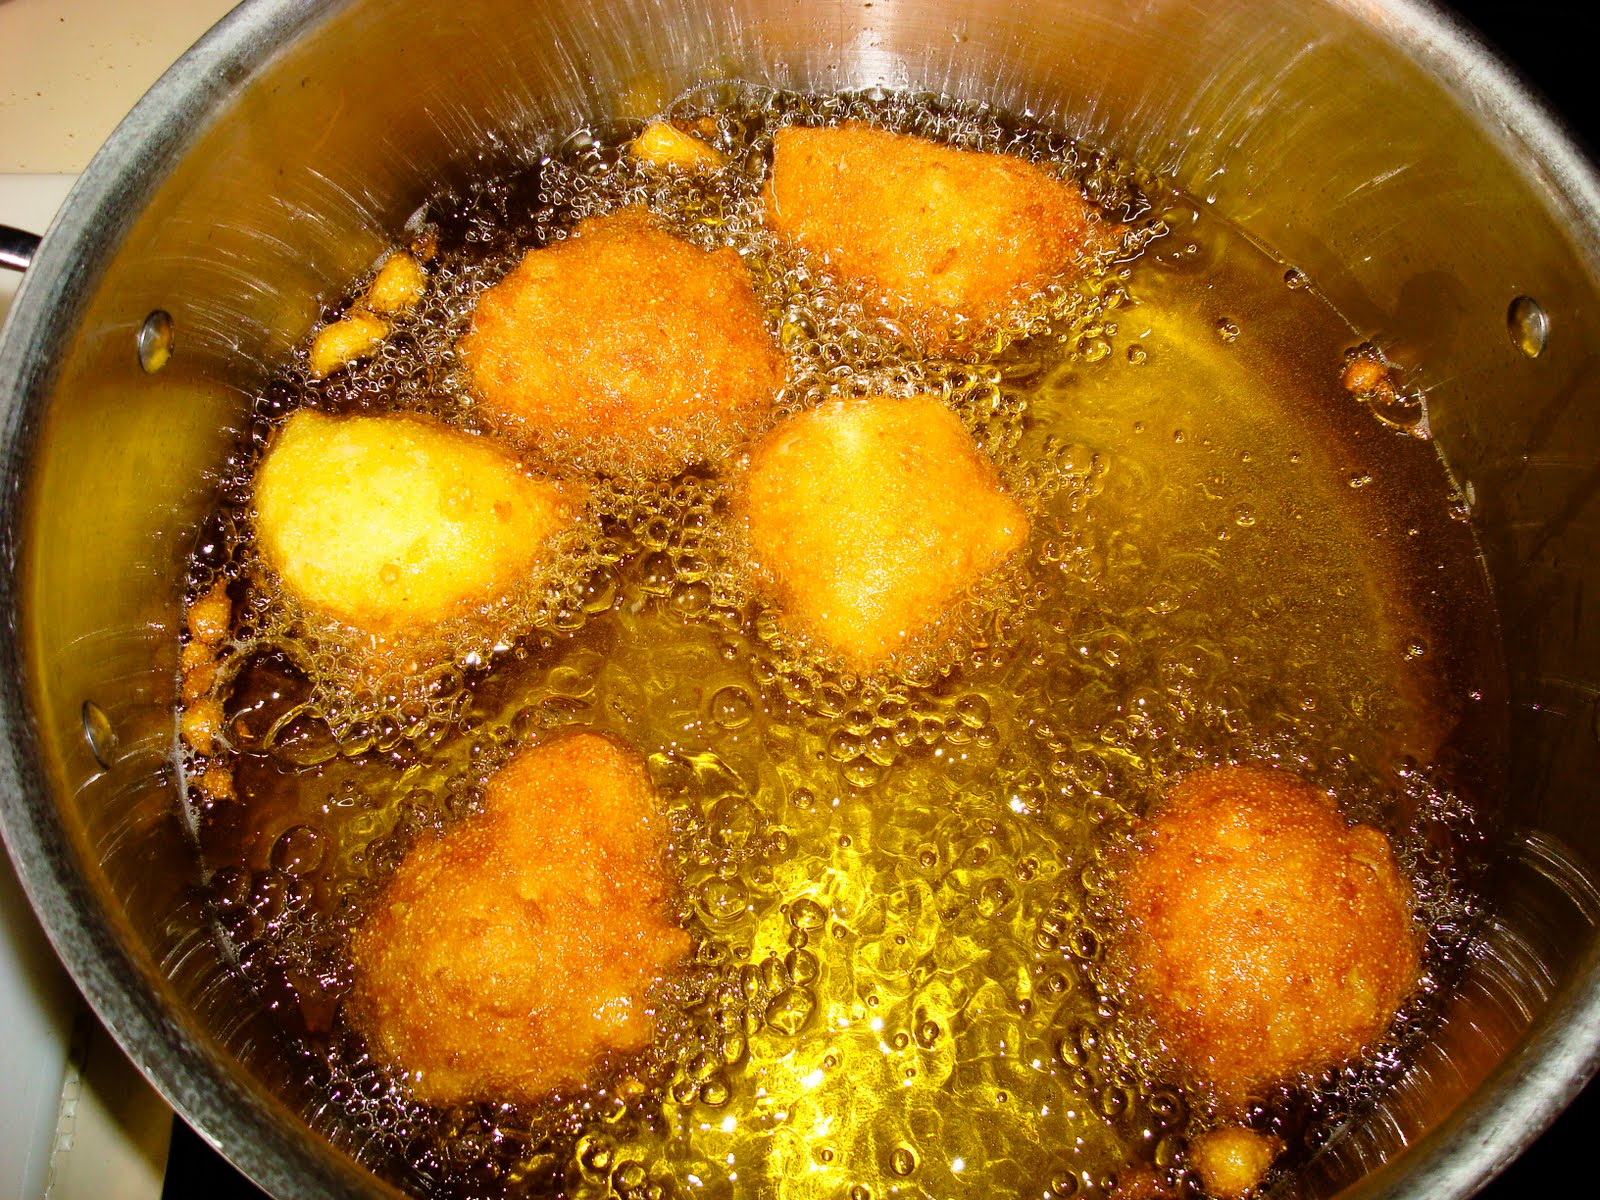
The batter took a few minutes to put together, and the frying didn’t take much more than that. The clear instructions were easy to execute, and were well explained.
The flavor of these hushpuppies was very clear; distinct pieces of sweet onion, with a fresh cornmeal taste, and a very delicate crispiness surrounding a lush, soft, coarsely bread-y interior. I have to say that although I’m still not a hushpuppy fanatic, my friends and family who are, could not get enough of these.
My mother, a rabid Celtophile, loves everything Irish. On her trip to Ireland, she fell in love with the breads they were served, just as Elinor Klivans wrote about in her forward about this recipe. She described a dark, airy bread, and noted her surprise to find out that it was soda bread instead of yeast bread. In making her bread, (twice, just to ensure that I hadn’t made a mistake), I didn’t find her description in my bread. She’s obviously an accomplished baker, but I can’t imagine someone being surprised that this was not a yeast bread. It also wasn’t all that dark of a loaf, as the whole wheat flour was still quite light. Quite a nice loaf of bread, and easily one I would make again, I hardly think she was describing the same bread in her introduction.
Again, pulling together a short list of ingredients, the prep was very easy. I started to think that instead of using the subtitle of “fast” breads, that it’d be more accurate to describe the ease of her recipes.
The ingredient list includes caraway seeds, which most bread recipes are timid to include. Too often, recipes list them as “optional,” but I think that in this case, they are anything but. “Brava” to the author for not listing them as such, because if they weren’t in the recipe, the bread would have flirted with the description of “sweet.”
As expected, the dough was intensely sticky and difficult to manage without floured hands.
 |
| Have a silicone or rubber spatula at the ready! |
I patted the messy mass into the shape prescribed by the recipe, and made the requisite “slash” across the top of the bread.
 |
While baking, the aroma of the bread brought an unexpected pedestrian to the kitchen;
the dog apparently has a little Irish in her as well! |
The bread baked exactly as promised. A browned bottom, with a lovely split top.
 |
| It's not a football ;-) |
 |
| Lovely, browned bottom |
The only issue I have at this point with the recipe, was the description; This is a dark bread?! Not so much, in my opinion.
I don’t know about any of you, but waiting for baked bread to cool enough to slice is almost painful for me. Hours later, as though spent waiting at the DMV, I was finally able to slice the fragrant bread.
I am a big believer in the electric knife when slicing breads, and other crushable, tender foods. The slices turned out just as I wanted them. The bread had a relatively light flavor, almost too light, and would have benefited from a more savory element in my opinion. Unfortunately, I can’t think of what to add, but I’ll make it again to find something appropriate. It was an easy, lovely addition to dinner that night, and the toast from the bread the following day was tasty.
Now, the indulgent trial: Extra-sticky Caramel-Pecan Rolls.
The sweet dough recipe she details makes several different recipes. I made the one that appealed to me the most. The dough is easy to put together, but really needs to be made a day ahead. It also makes a TON of mini rolls, so know that you’re making a big dessert when you make it, and they don’t seem to last that long. …not that they need to!
 |
| I tried to be as precise as I could be, since these would be used for a mini-reunion for some out-of-state family. |
The dough wasn’t as difficult to roll into a rectangle as I had expected it to be. It was well-chilled, so it didn’t retract or get fussy.
 |
The precision paid off well, as each tiny roll was the same size,
and they looked “cute” together in the prepared pan. |
When the rolls rose, (ever so slightly), they filled the pan a little better, and gave better coverage to the caramel and the pecans on the bottom. The only difficulty was in lining the pan with parchment paper, for which I used a French technique I’d learned before.
™ Cut the paper to size, taking the height of the sides into account, and cut a perfect square.
™ Make a diagonal slit in the paper, equal to the length of the side, on each corner.
™ Then press the paper into the pan, allowing the slit corners to cross over onto one another.
That will allow the corners to be tight, and the coverage to protect your pan, (for the most part).
The caramel has a hazy look to it, and I would have preferred a clearer caramel, but other than that minor complaint, these were great. I made all four batches, and we ate one ourselves! Small, attractive, and so decadent-tasting.
I am a Thanksgiving fanatic. I adore the American holiday, and I plan all year long for it. When looking at the recipes for rolls, I couldn’t help but think of that time of year. I need a recipe that is light in flavor, texture, and effort. If it competes for flavor, (or for my time), it’s a non-starter. Had I found what I was looking for in the Sunday Lunch Dinner roll?
The constant in the author’s recipes is approachability. None of her recipes were difficult to execute, and this one was no different. Very simple mise en place, and clear instructions.
However, when it came to the dough, it was *so* wet, it looked like a mildly thick batter! I couldn’t imagine how this would ever turn out the way I’d wanted, but after reviewing my steps and the recipe over and over, I determined that I hadn’t made any mistakes at that point, and I pressed on.
 |
| Pre-rise |
My faith in the author paid off, because it came together in a lovely, soft dough. Not easy to shape smoothly, I actually used a scoop to portion the balls of dough.
That worked out in the end, because the rising process smoothed most of the bumpy edges.
 |
| Post-rise |
After baking to a beautiful color, and a lovely smell hung in the air, I tried a warm roll.
To my surprise, there was almost no flavor to the roll at all. The flavor was ever-so-slightly sweet, and was so light that I had to look for it. I liked the texture, just enough chew so you knew you were eating bread, but sooo light. The good news is that they are beautiful and easy to make. They certainly wouldn't compete for flavor over anything else on the table, but is that what I'm looking for? The search continues.
Overall, I think this is a wonderful book. The recipes are clear and easy to follow, and they seem to be good recipes to make with kids. I will definitely be looking to this resource for years to come, and I look forward to trying even more of the author’s recipes. Gruyère & Black Pepper Gougères are next!
So what do you look for in a baking book? Do you ever decide to make or not make a recipe, based primarily on the author’s description? Do you edit a recipe as you make it for the first time?
 I had the opportunity to work with my two nieces, (ages 6 and 10), on three products; Tulip Tye-Dye kit, Tulip fabric markers, and Tulip Color-changing paint. We had a great time making some customized tops for Summer!


 The 10 year old took on the fabric markers, as she like to conform to established color lines and is more conventional in her thinking.